In this tutorial you’ll learn how to setup email signatures so you can have text added to the bottom of your outgoing messages (such as your name). You’ll also learn how to configure social sharing of your messages on Facebook and Twitter and how to turn on single optin in your Aweber autoresponder.
When you create a list in your Aweber Autoresponder Account it’s double optin by default. This means that when a new subscribers joins your list they will be sent an email to confirm their email address in order to get emails from you.
Many users don’t confirm their email address and you’ll never be able to email them if you have double optin enabled. In this tutorial I will share with you how to switch your list to Single optin so you can start emailing your new subscribers right after they join your list.
Once you are logged into your Aweber account follow the instructions below.
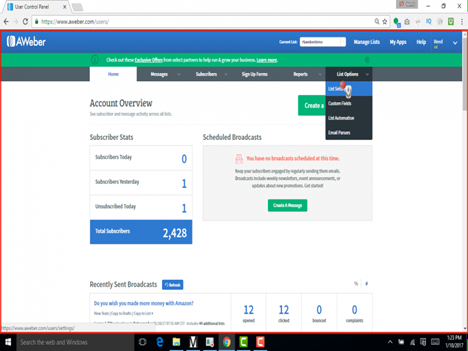
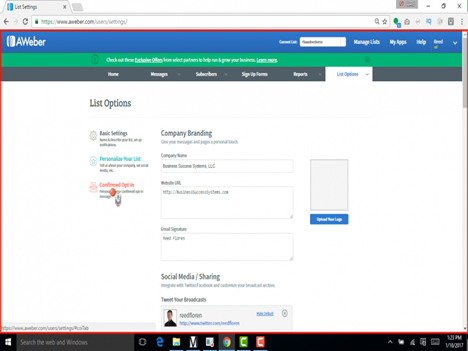
Step 1. Hover over “List Options” and Click on “List Settings”
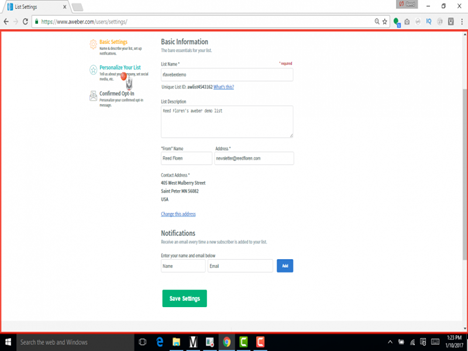
Step 2. Click on Personalize Your List
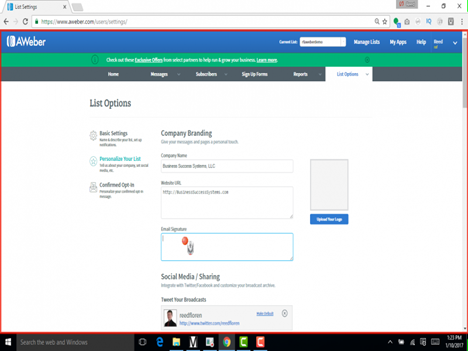
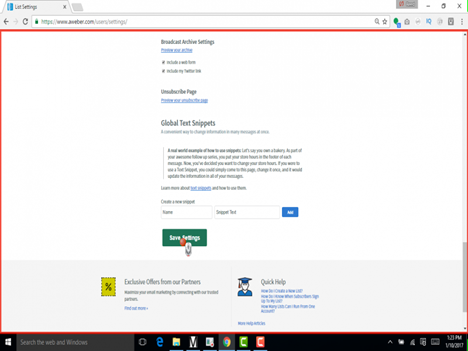
Step 3. Add Your Email Signature
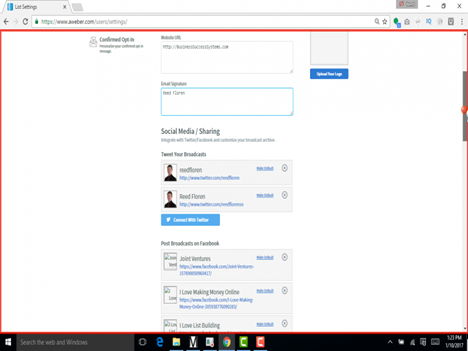
Step 4. Configure Your Social Media Sharing
Step 5. Click “Save Settings”
Step 6. Click on “Confirmed Optin”
Step 7. Click on “Send a confirmed opt-in email for Web Forms”
Step 8. A Popup Will Confirm That You Want to Do This Click on “Yes” 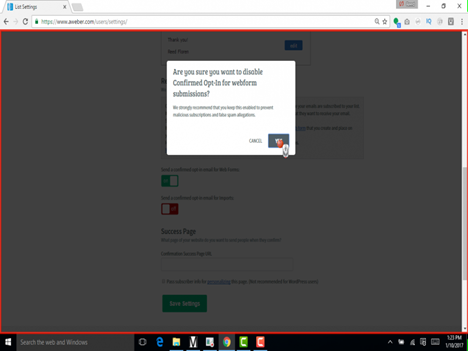
Step 9. Click on “Save Settings”

Congratulations you now have a single optin email list, email signature and social sharing setup on your Aweber autoresponder account
Leave A Response